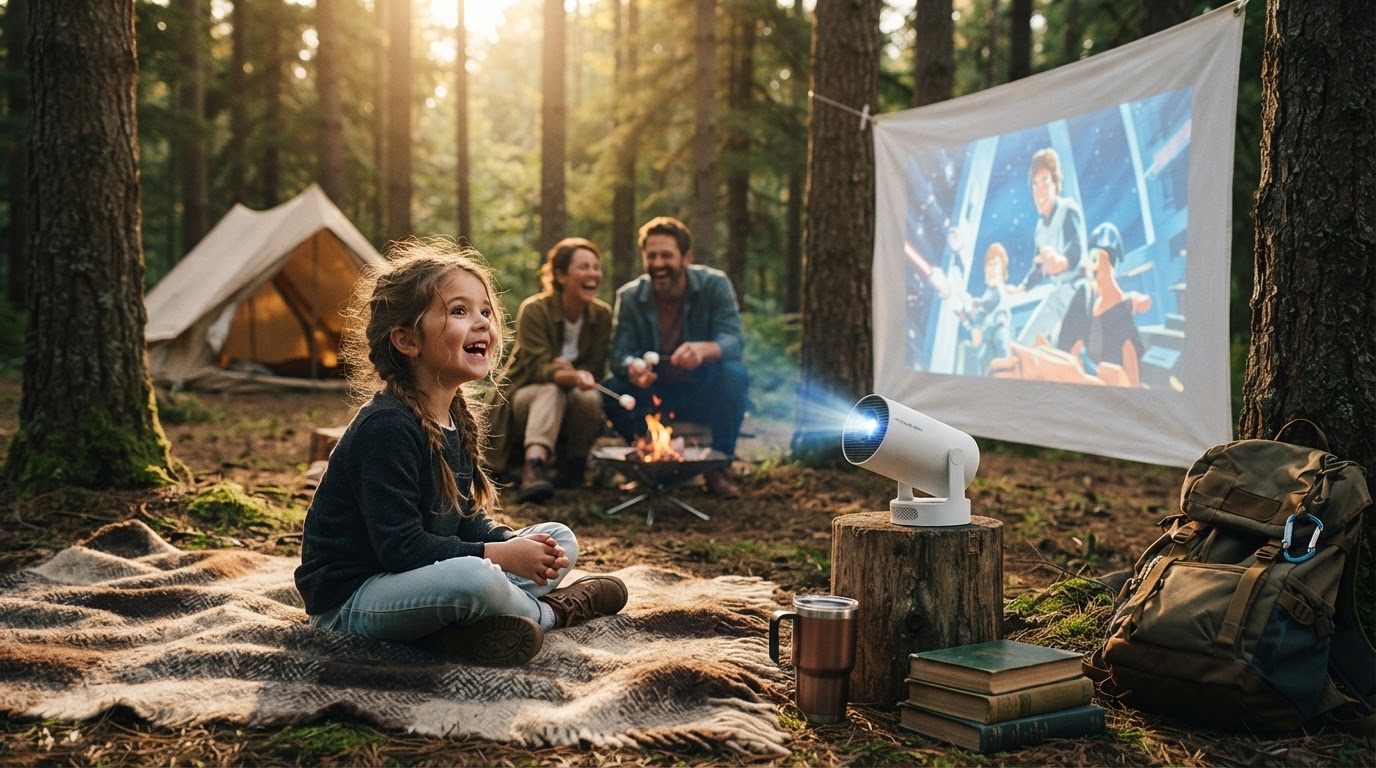
Using the Magic Cubic Projector for Camping Trips
 Daniel OkaforField Tester
August 7, 2026. Setting up a high-definition cinema in the middle of a national forest requires a specific balance of portability and brightness. This guide is for outdoor enthusiasts who want to integrate a Magic Cubic Projector into their wilderness kit without adding unnecessary bulk to their pack.
The Challenge of Remote Screen Time
I spent years trying to make outdoor movie nights work with just a smartphone or a tablet, but the experience always felt cramped. When you are sitting around a campfire, crowding four people around a six-inch screen ruins the atmosphere. According to the outdoor recreation data provided by the National Park Service, more campers are seeking ways to blend digital connectivity with traditional outdoor activities, yet the hardware often fails in the field. I tested this for three nights in the high desert where the wind was constant and the power sources were limited. The primary issue with most standard hardware is the lack of versatility; you either have a heavy unit that requires a generator or a weak "toy" projector that disappears the moment a campfire is lit. In these environments, every ounce of gear must justify its presence. I found that traditional setups often required bulky tripods and external speakers, which are the first things I leave behind when space is at a premium. What I’d do differently next time is bring a dedicated reflective screen rather than relying on a white tent wall, as the fabric texture can occasionally interfere with the sharpness of the image during high-motion scenes.
Field Testing the Magic Cubic Projector

Photo by Jessica Lewis 🦋 thepaintedsquare on Pexels
Here's the moment it earned its place: I was able to project a clear 100-inch image onto the side of my van using only my phone's hotspot and the internal software of the unit. The Magic Cubic Projector features a 180-degree rotatable design, which meant I didn't need a tripod; I just set it on a flat rock and angled the lens upward. During day three is where I noticed how much the auto-keystone correction mattered. As the ground shifted slightly under the weight of the gear, the image stayed squared without me having to dive into deep menu settings in the dark. Because this is a Magiccubic device, the integration with Android-based apps is native, meaning I didn't have to fumble with HDMI adapters in a tent. The unit supports 4K input and 1080P output, which provided enough clarity to read subtitles even when the projector was ten feet back from the surface. Unlike a standard portable smart beam projector, the cubic form factor felt more rugged in my backpack. What surprised me was the thermal management; even after a two-hour documentary, the casing wasn't hot to the touch, which is a relief when you need to pack up quickly and move camp. The built-in WiFi and Bluetooth allowed me to sync my ruggedized speaker instantly, creating a full theater environment that felt surprisingly permanent for a temporary campsite.
Preparing Your Mobile Cinema Kit
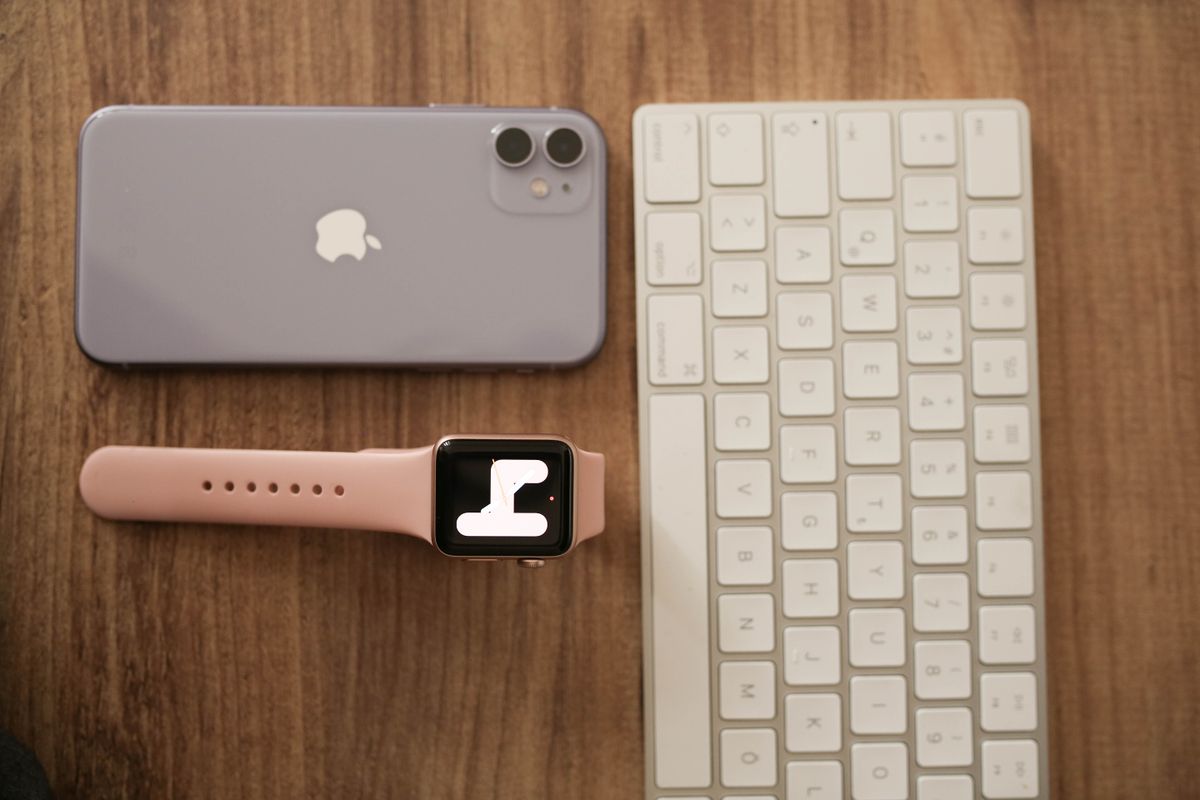
Before you head out, you need a framework for ensuring the tech doesn't fail when you're miles from the nearest outlet. While the Magiccubic interface is intuitive, you should always pre-download your media. Streaming via a hotspot works, but in deep canyons, local storage is your best friend. A portable smart beam projector setup is only as good as its power supply, so I recommend a power bank capable of at least 65W output to keep the session going. When I use the Magiccubic system, I follow a specific checklist to ensure I'm not wasting battery life on setup.
- Verify that all firmware updates are installed while you still have home internet.
- Pack a lightweight white sheet or a specialized folding screen if your tent is a dark color.
- Bring a high-capacity power station that supports USB-C PD (Power Delivery).
- Test the Bluetooth pairing with your outdoor speakers at home first.
- Clear the lens with a microfiber cloth to remove trail dust before every use.
Shop Magic Cubic Projector here